Thursday, February 6, 2014

String Art Tutorial - An Easy Craft For Kids


This is a step-by-step tutorial on how to do string art. String art is a craft that is easy and fun. You can be so creative with it and the ideas are endless. 

I used to do this when I as a young child so I know that string art is an easy craft for kids. It will teach them hand-eye coordination. String art is a great way to relax. Give this art a try... you will be happy you did. :) 


I also made a step-by-step instructional video to make it even easier for you. I will give you all kinds of helpful tips in the video. 
Check it out!!


Here is the second video on how to make a Seashell Dream Catcher:  https://youtu.be/iU1_aW9d3fI


What you will need:

*Scrap wood 

*Small nails-I used wire nails 18x3/4" or 1.2mm x 19.0mm 

*Hammer 

*Pliers 

*Crochet thread 

*Pattern 

*Tape 

*Paint 

*Paint brush 

*Sandpaper


The first thing that you will need to do is pick a piece of scrap wood and then lightly sand the edges to make them smooth.


Now I paint the wood. I put a piece of paper under the board to be sure I did not make a mess on anything.


Now it is time to make a pattern to use as your design. You can draw out a pattern on a piece of paper or you can print one off of your computer. For this project I used Adobe Photo Shop to help me make my font and I picked a basic pattern for a butterfly to print off and I added hearts to my butterfly for a personal touch.

I cut around the outside of the pattern to make it easy to tell where it will go on my wood. Then I taped it down on the edges so that it would not move around while I hammer my nails.

THE BEST TIP FOR THIS PROJECT:
I use my pliers to hold my nails as I hammer them. This will keep you from banging your fingers up because the nails are small. You are bound to hit your fingers with the hammer unless you do this. 
hehe :) 

I place the tip of the nail on the line of my design and hammer the tip of the nail into the board. I only give the nail a few light taps with the hammer. Just enough to make the nail hold firmly in place.

I try to make all the nails the same height so keep your eye on how hard you tap your nail. A smaller hammer will encourage a lighter tap and make it easier to hit the small nails. 

I use my pliers to straighten any nails that may be a little crooked. Once you get the hang of using the pliers and nails, it goes quite fast and becomes much easier. 

I pick the color of string that I want to use for each section of my design. I used Red Heart Crochet Thread but you can experiment by using different strings and yarns. 

After picking the color of my strings, I picked the colors of my paint that I wanted to use to paint the heads of my nails. This was fun because it added more color to the design. I loved how it turned out. This part is optional though. You do not have to paint the heads of your nails. It seemed like fun to me though. :)

After the paint on the nails dried I pulled the paper pattern off. This can be a bit of a challenge but I give you some tips in my video that might make this step a little easier. Just be patient and pull it off slowly. 

The next step is to start wrapping your string around your nails. This is the super fun part. hehe I tie a couple of simple knots onto my first nail and then cut the extra string off. 


Now I start wrapping the string around the nails. It is important to hold your string with a tight tension. This will help the string stay wrapped around the nail as you move to wrap the next nail. I use my finger nails to push the string under the head. That way the string will stay on the nail better. Yes, I had to repaint my finger nails after I was done with this project. LOL

When I put a couple of layers onto one nail it makes the next layer stay on the nail better if you push the first layer down a little with your finger nail before you wrap the next layer. 

Larger projects can have really cool string designs. Experiment with different ways to wrap the string from nail to nail in order to get different styles. It is so much fun to see how it will turn out. Remember to relax an enjoy yourself. 

Check out our video tutorial so you can see some extra tips and tricks to make this project easier. 

http://youtu.be/xjO6MkV5_LI


Don't miss out on our future videos and ideas... 
Subscribe to our Youtube channel. 
Links to more of our crafts:
EASYMEWORLD YOUTUBE CHANNEL:  
https://www.youtube.com/user/EasyMeWorld

EASYMEWORLDFACEBOOK:  
https://www.facebook.com/EasyMeWorld


Friday, January 17, 2014

DIY Texture Painting With Glue - An Easy Craft For Kids

This is an inexpensive craft that is a ton of fun to do. The kids will love making this project. I sure did!! When I decided to do this project, I wanted to come up with something that was easy for the kids to make for a Valentine's Day craft project. This was PERFECT! I really enjoyed myself while I was making my two paintings. It was relaxing and very creative. :) 

I will show you step by step how to do this project in this video that I made.  http://youtu.be/0mc118Iuij4


What you will need:
* Tacky Glue
* Canvas
* Acrylic Paint
* Paint Brushes
* Paper Towels

The instructions that I came across for this project called for Elmer's glue. Here is a tip: do not use Elmer's glue for this project unless you find a way to thicken the glue. Maybe cornstarch can thicken Elmer's glue. I never tried it but I know it thickens homemade glue. Anyway, I tried to use the Elmer's glue on my canvas twice and it seemed like it would work when I first squeeze it into my designs. But as it sat to dry, it lost its form and dried flat. On my third try I used Tacky glue and it worked perfectly. I just want to save you some time by giving you this pointer. One day I will try thickening my Elmer's glue to see if it will work. It sounds like a great experiment.

The first thing that I did was get my glue and start making designs. I have seen quotes done with this technique and it is beautiful too. I wanted to stick with the Valentine's Day theme because this is my Valentine's Day project. :) One of the wonderful things about this is that if you make a mistake or you make a design that you do not like, you can wipe it off with a paper towel and fix it. It is fun and care free. Use your imagination and try not to stress about it. 

I let the glue dry overnight before I painted the base coat. Make sure you put a paper bag or a newspaper under your picture while you paint so you do not get paint on your table. I picked a paint color that was neutral to use as my base coat. Try to paint in all the areas around each glue designs so you do not have white spots on your painting. I gave my picture two coats of paint.

After my base coats of paint were dry, I painted on, and inside of my glue designs to make them stand out. It was a lot of fun deciding where I wanted to add color. 

On the other painting that I did, I painted a light boarder on the edges of the canvas with my fan brush. I wanted to make the picture stand out against my wall because my wall is similar to the base coat of this painting. I like this painting because the colors match my bedroom perfectly. :)

I really like this painting because the dandelion is holding seeds of love that spread as the wind blows them. hehe It made me smile to do this picture. 

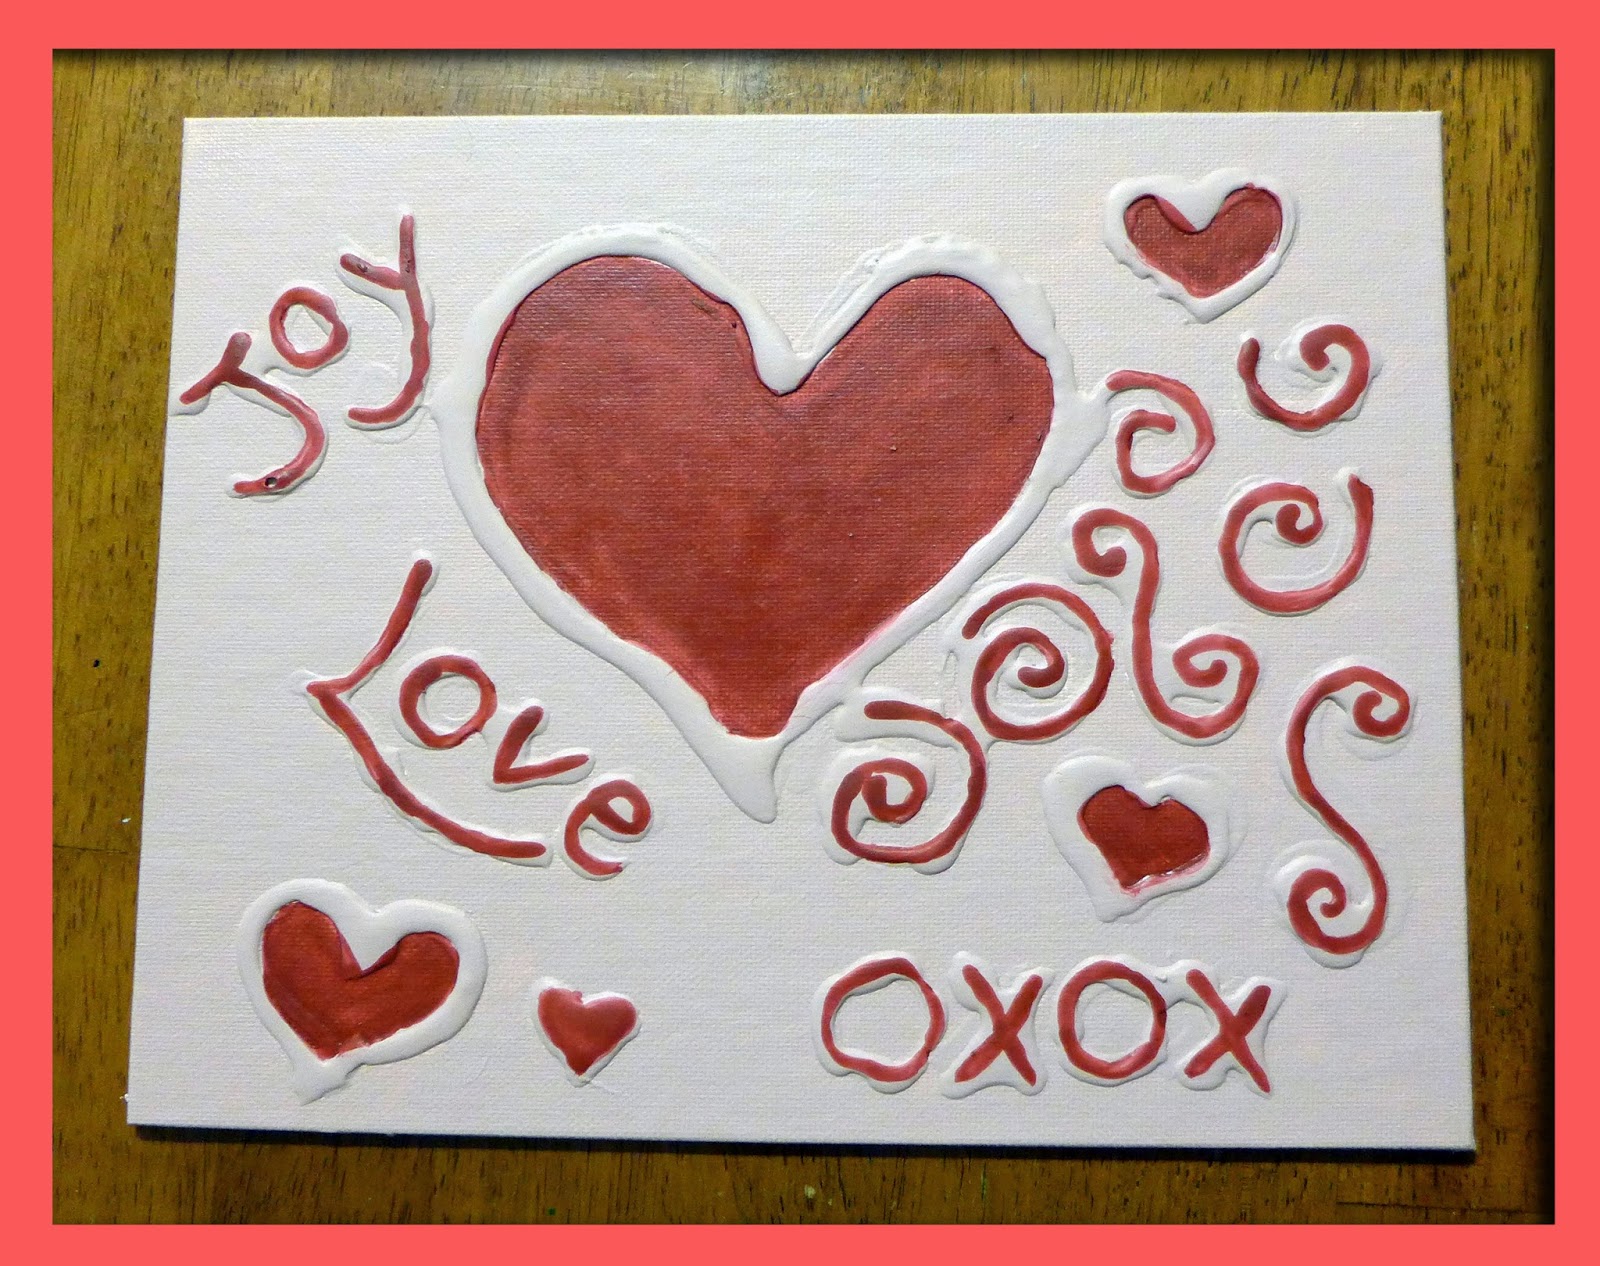
Here is how my heart picture turned out. My boys liked this picture the best because it was bold and colorful. :)

The texture that the glue gave the paintings added a special touch to them. It made them original and they were so much fun to make. I was actually surprised at how much I enjoyed doing this project. My glue turned out bumpier than yours will turn out if you use Tacky glue because I had to redo my glue a couple of times. But I am very pleased with how they turned out. It was a lovely project that I would love to do again. 

Thank you so much for visiting. 
Don't forget to check out the video tutorial:
http://youtu.be/0mc118Iuij4

Links to more of our craft ideas:
EASYMEWORLD FACEBOOK:  https://www.facebook.com/EasyMeWorld

EASYMEWORLD YOUTUBE CHANNEL:  https://www.youtube.com/user/EasyMeWorld


Friday, January 10, 2014

DIY FreeStyle Art For Shoes - Zentangles

These shoes are easy to design and fun to make. We love to decorate our shoes with cool pictures and Zentangles. It is so relaxing to do this project. We encourage you to give this project a try. You will be surprised at all the compliments you get on your awesome shoes. 

We made a step-by-step video on how you can make shoes like ours. We will also tell you what we used to protect our shoes from getting dirty and wet. Check it out! 
http://youtu.be/8PndS2TmQ4U


Here are more pictures of how our shoes turned out. :)


We have more pictures in our video. 
http://youtu.be/8PndS2TmQ4U
We hope you have a blast making your own shoes. 
Thank you so much for visiting. 

LINKS:


LEARN TO MAKE ZENTANGLE ART PROJECTS:  http://youtu.be/dSMr7RSqOws

THE ULTIMATE ZENTANGE PATTERN SITE:  http://tanglepatterns.com/zentangles

EASYMEWORLD FACEBOOK:  https://www.facebook.com/EasyMeWorld

EASYMEWORLD YOUTUBE CHANNEL:  https://www.youtube.com/user/EasyMeWorld


Friday, January 3, 2014

DIY Craft Ideas for Gifts

I thought it would be fun to share with you some of the gifts that I made to give away as Christmas gifts. I love to personalize gifts to make them special. I hope this encourages you to use your imagination to create your own personalized gifts too. I will put links to the tutorials with each group of pictures so you can give it a try.

Don't miss the video which shows more crafts in detail: http://youtu.be/liJfYEPZo6A

Jewelry
I love to make jewelry to give as gifts. Here are a few of the jewelry pieces that I made.


  Wrap A Rock Tutorial:  http://youtu.be/jX1_DS7ep5A

Wrap A Rock Cradle Tutorial:  http://youtu.be/Hd3B2UsrSus

Attach Pendant and Necklace Tutorial:  http://youtu.be/CYNAA_sQrM4

Many Original Macrame Craft Ideas:  http://youtu.be/EpP7a05gnyk
This is a pirate necklace that my son helped me make. It has a sward and a treasure chest as its pendant. I made this for my daughter because she loves Pirates of the Caribbean. 
Dillan also made Kymberly a treasure chest and a ship out of the polymer clay so she can set them on her dresser.
(There isn't a tutorial for these because these are originally made by Dillan)
This is a necklace that I made for my daughter Lindsey. She loves Spongebob. I made the pendant out of polymer clay.

Spongebob Tutorial:  http://youtu.be/HLuneWi8qTg

I made my daughter Ashley some Hunger Games accessories. For her pendant I made her a bow and some arrows. I also made her arrow earrings.

FairyFashionArt's Bow and Arrow Tutorial:  http://youtu.be/78cxZ2u2GNU

Crochet Projects
I made a bunch of crochet coasters to give as gifts. They are the BEST coasters EVER! Everybody loves them. They said that the pictures do not do them justice. They are EASY to make and our video gives easy step-by-step instructions.
 How To Crochet Easy Coasters:  http://youtu.be/wFGaJsYlEZE
 Blog post for the Crochet Coasters with pattern:  http://easymeworld.blogspot.com/2013/08/how-to-make-crochet-coasters-for.html

 I made a scarf for my Mother-in-law. I made this pattern up as I went along. hehe It doesn't get more special than that. :)

 Owls
I made this owl craft up and I had so much fun making them for Christmas gifts. 


I made a whole family of owls for my brother and his family. An owl for each family member. I made polymer clay ornaments to put on each owl to represent something that each of the family members enjoy. This made it a super special gift. :) 

We had a blast making Christmas gifts for family and friends. I hope you enjoyed seeing what we made and I hope it inspires you to make your own creations. Don't forget to check out our YouTube channel and subscribe so you don't miss any of our future ideas. 

Thank you so much for stopping by.
:)
Happy Crafting!